
Quick Start
Getting up and running with TrainKore is quick and easy. This guide will run you through creating and managing your first Prompt in a few minutes.
Create a TrainKore Account
If you haven’t already, create an account or log in to TrainKore
Add an OpenAI API Key
If you’re the first person in your organization, you’ll need to add an API key to a model provider.
-
Go to OpenAI and grab an API key
-
In Trainkore Organization Settings set up OpenAI as a model provider.
In the same way that the OpenAI playground does. Keep your API keys for TrainKore and the model providers private.
Get Started
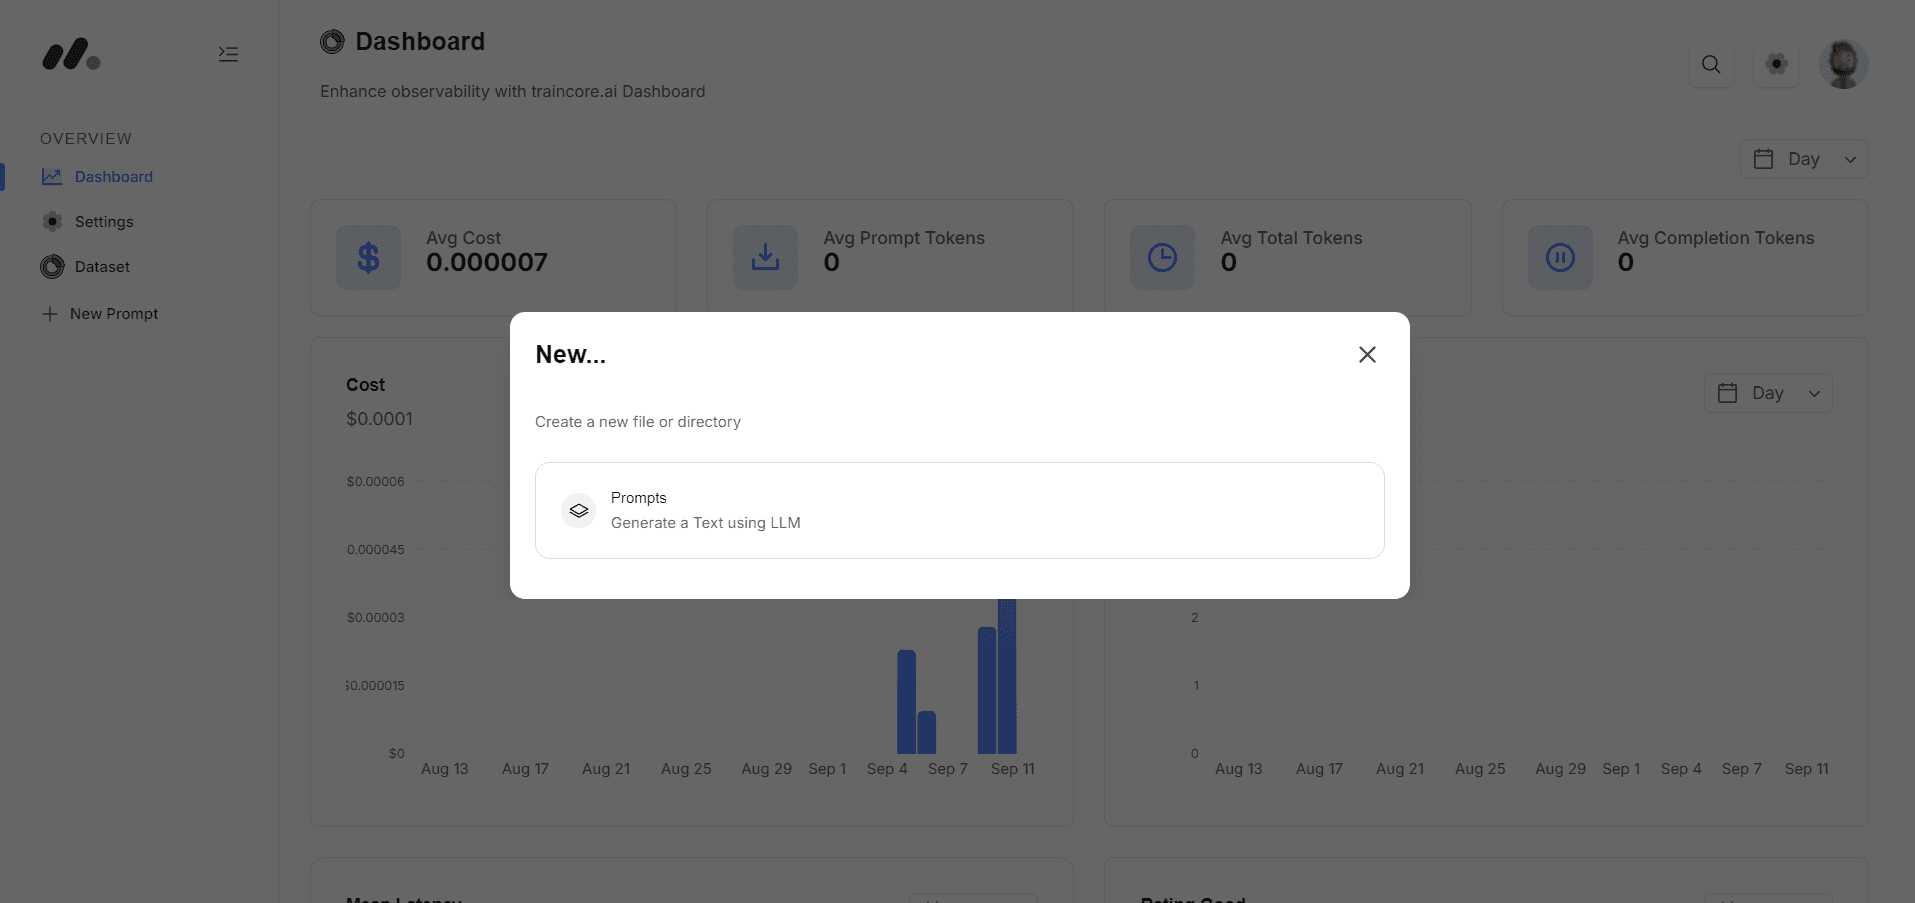
Create a Prompt File
When you first open TrainKore you’ll see your File navigation on the left. Click ‘+ New’ and create a Prompt.
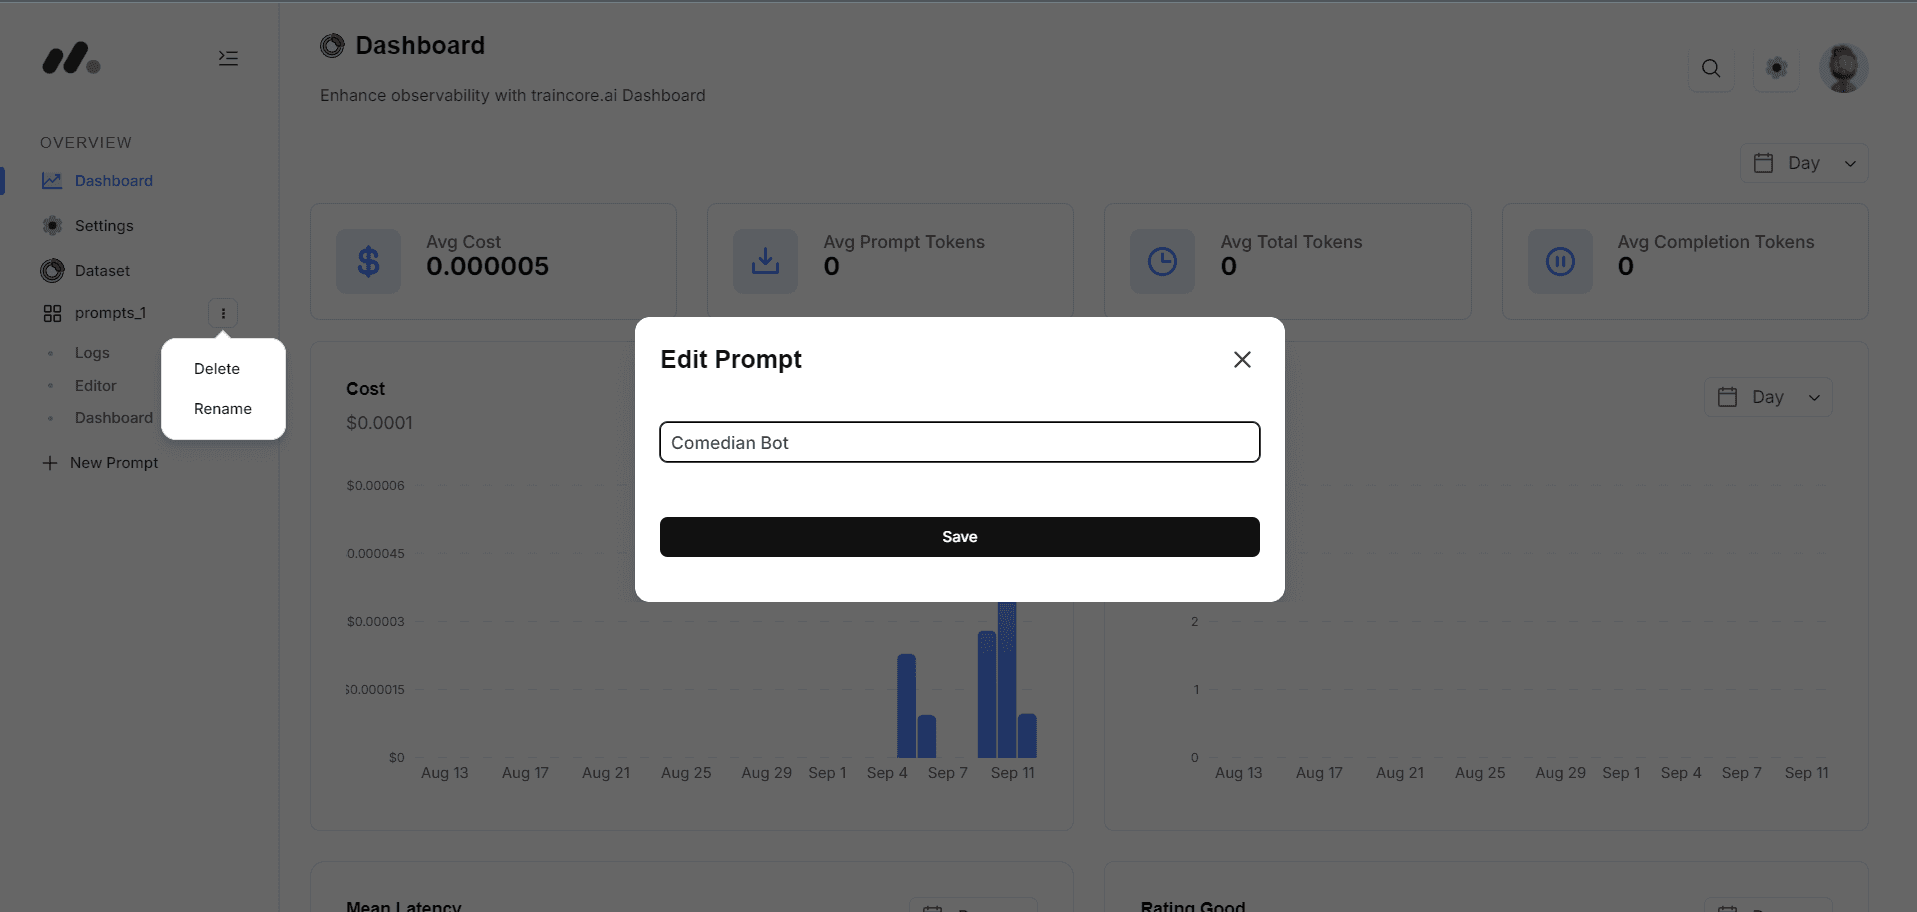
In the sidebar select rename, and rename this file to “Comedian Bot” now or later.
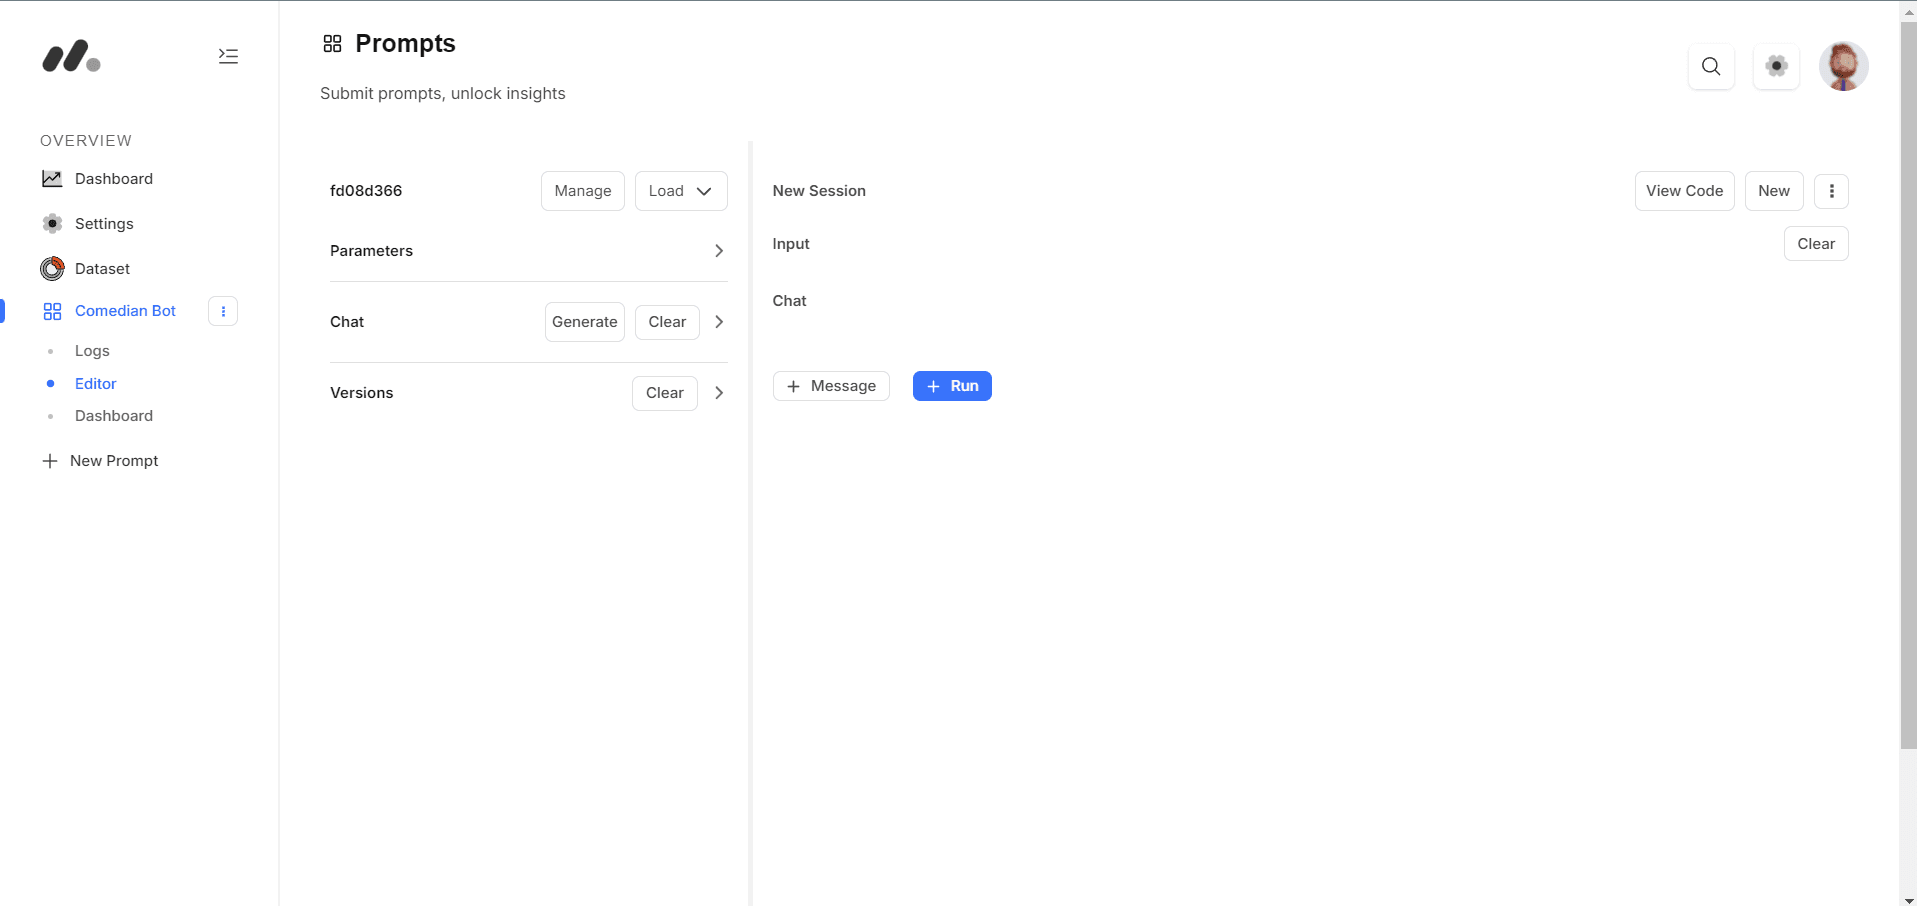
Create the Prompt template in the Editor
The left hand side of the screen defines your Prompt – the parameters such as model, temperature and template. The right hand side is a single chat session with this Prompt.
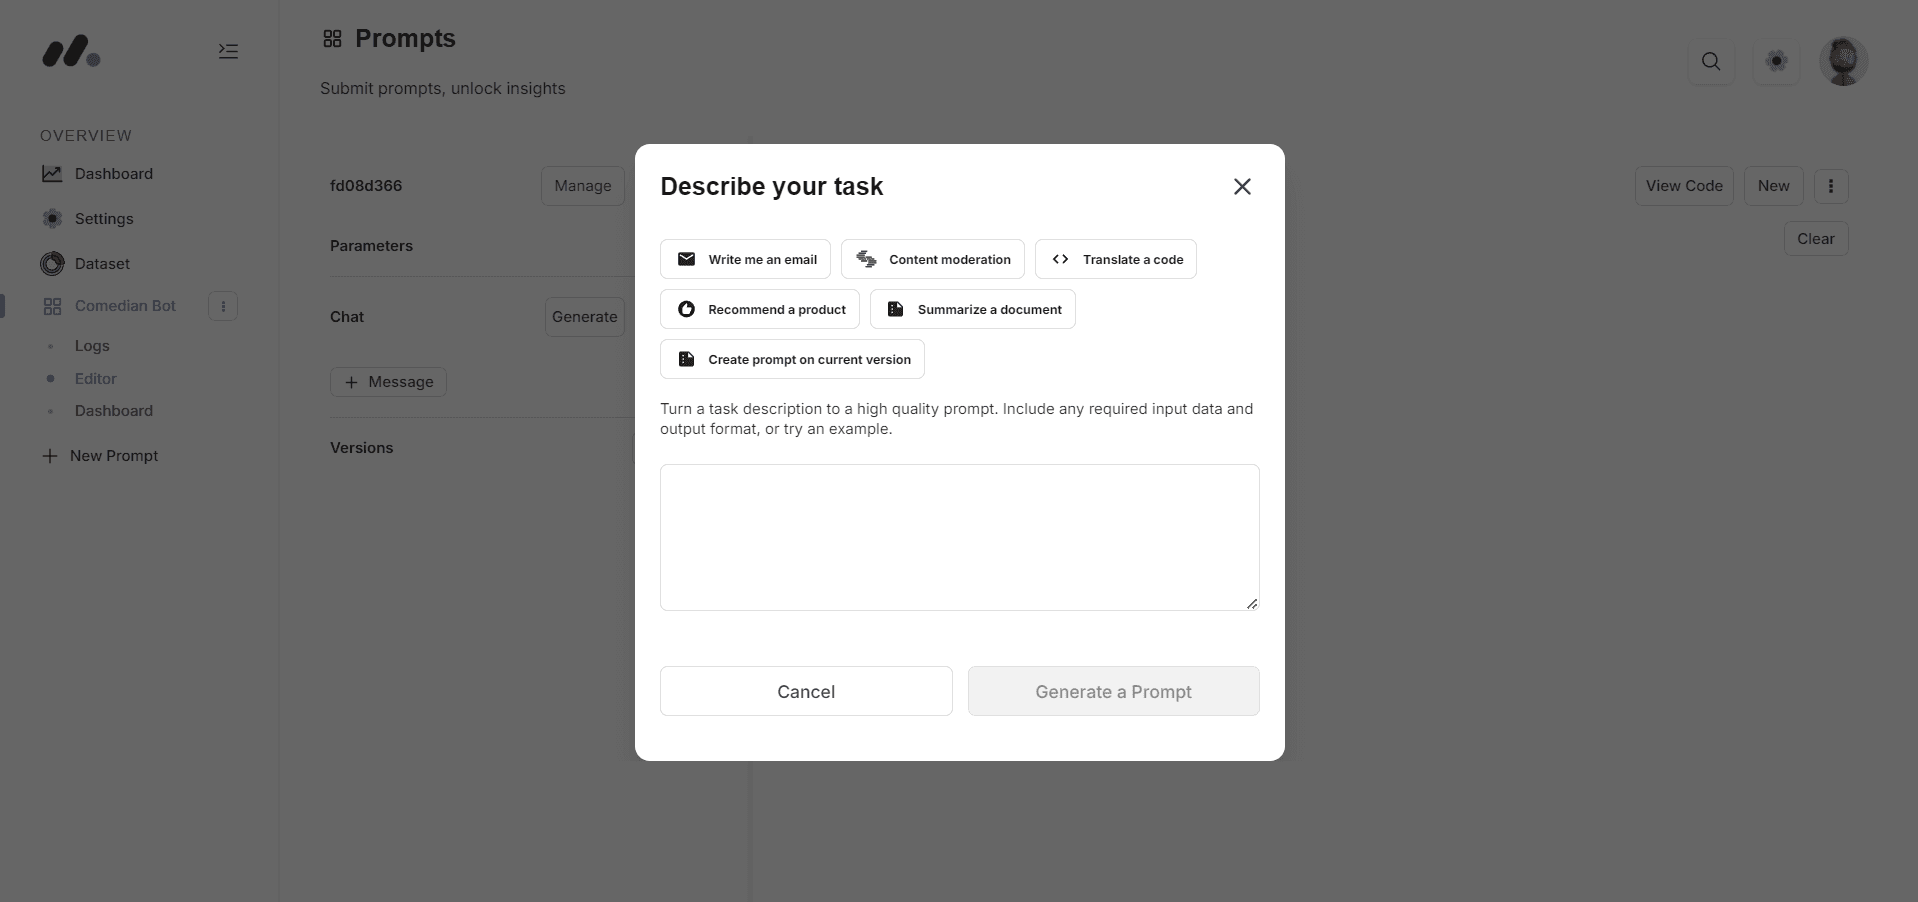
Click the “Generate” button to generate a system message to the chat template.
Click the “+ Message” button within the chat template to add a system message to the chat template.
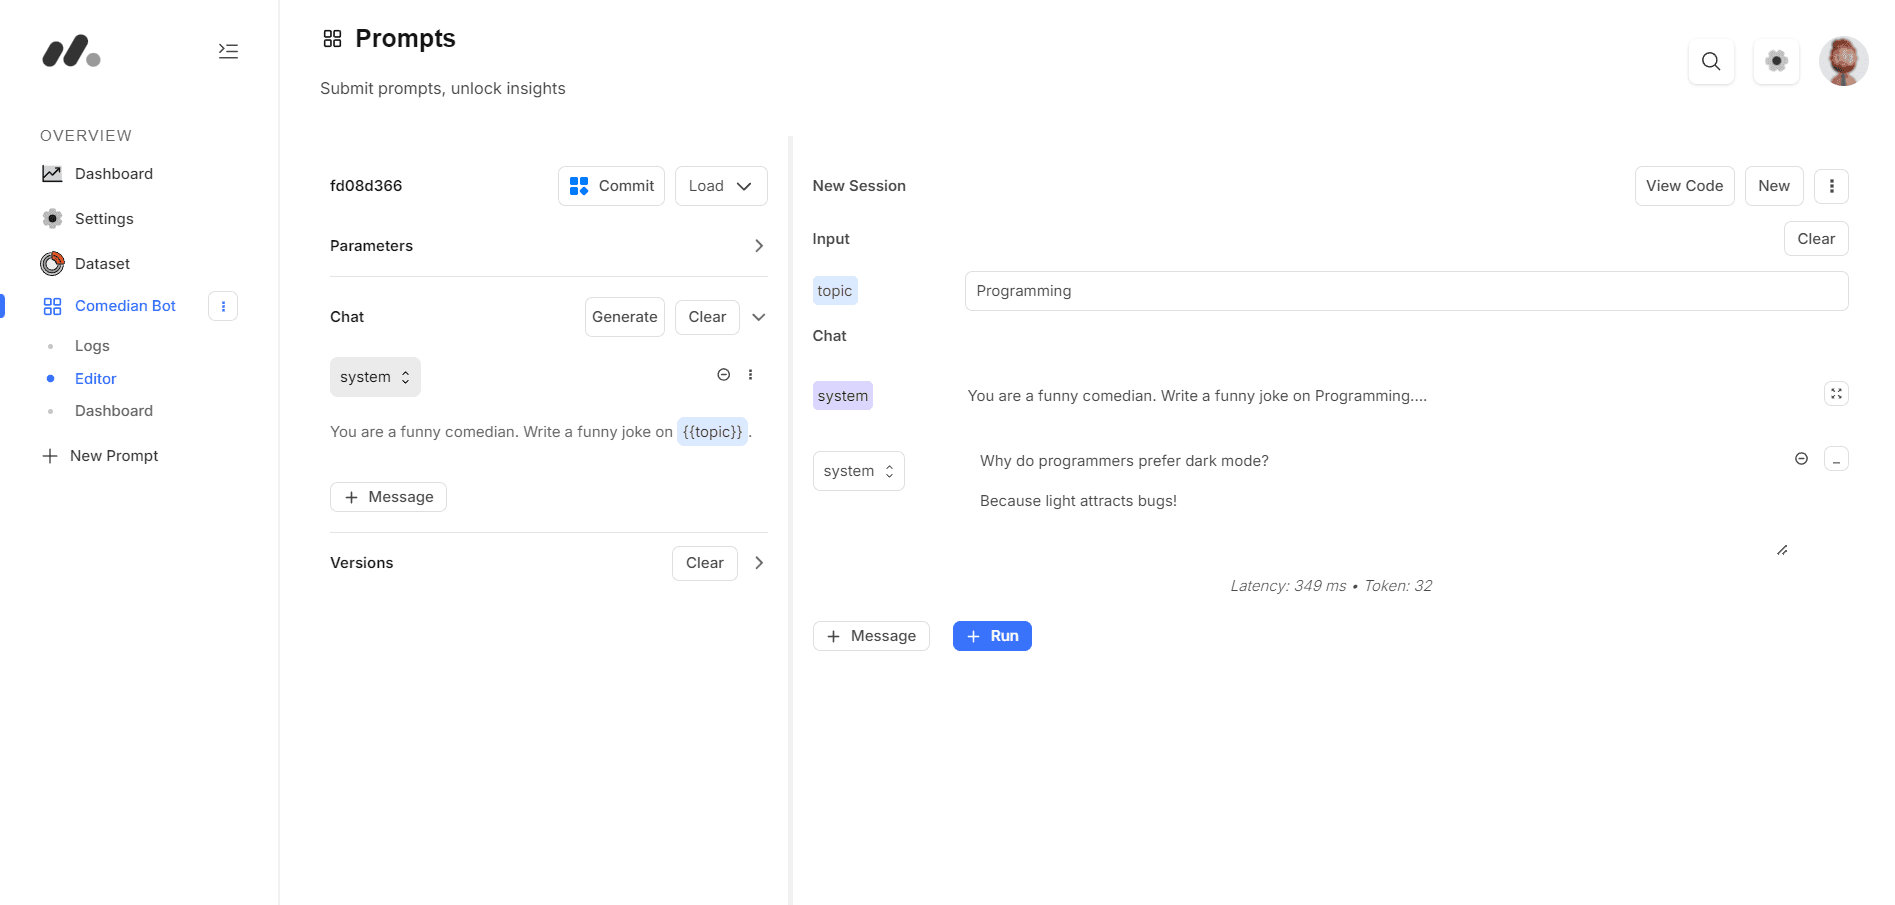
Add the following templated message to the chat template.
You are a funny comedian. Write a joke about {{topic}}.This message forms the chat template. It has an input slot called topic (surrounded by two curly brackets) for an input value that is provided each time you call this Prompt.
On the right hand side of the page, you’ll now see a box in the Inputs section for topic.
-
Add a value for topic e.g. music, jogging, whatever
-
Click Run in the bottom right of the page
This will call OpenAI’s model and return the assistant response. Feel free to try other values, the model is very funny.
You now have a first version of your prompt that you can use.
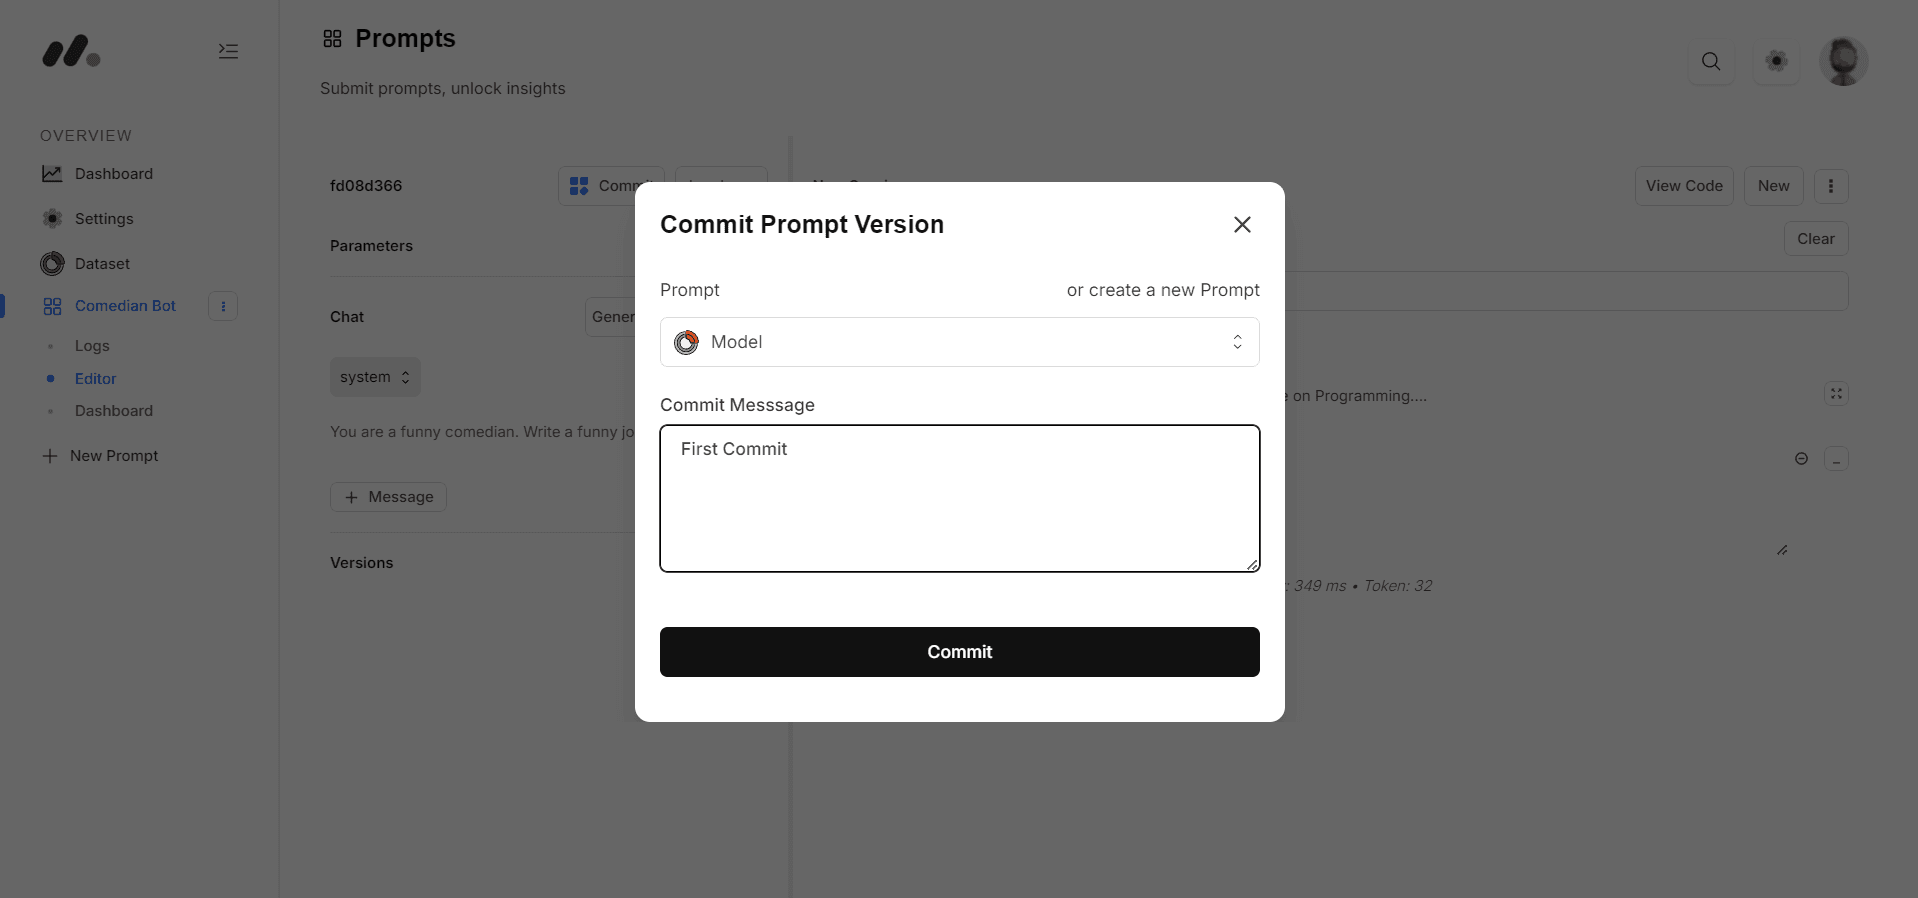
Commit your first version of this Prompt
-
Click the Commit button
-
Put “initial version” in the commit message field
-
Click Commit
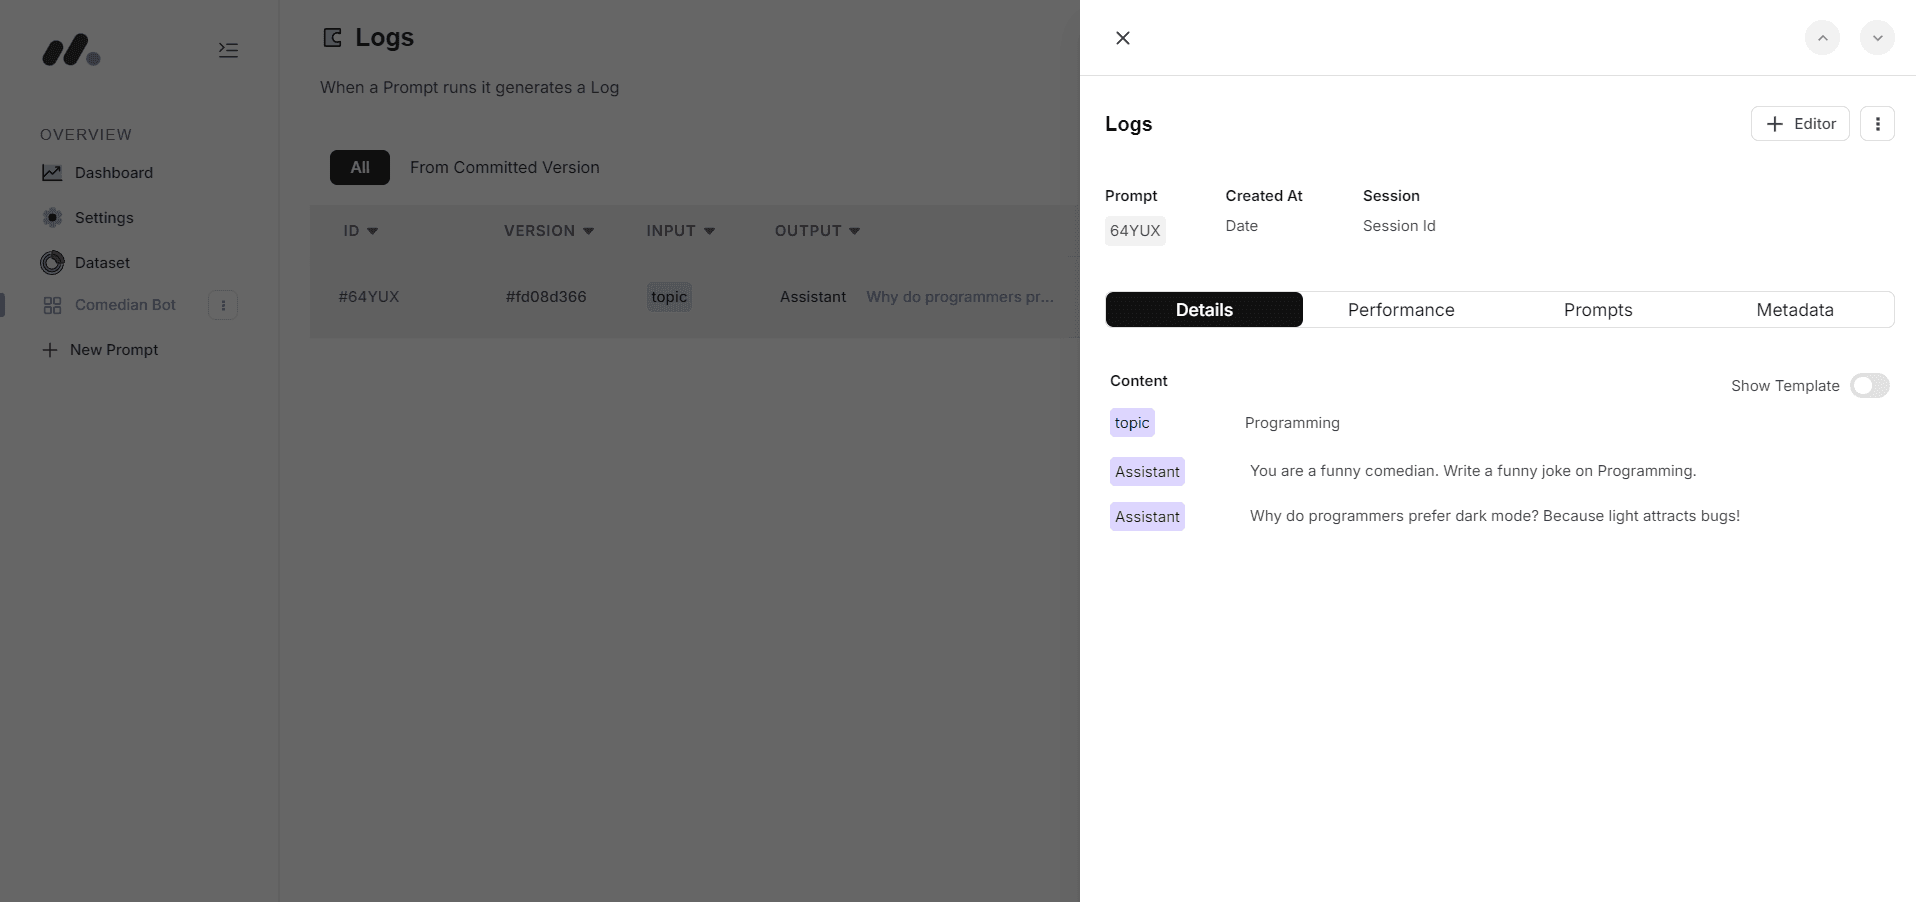
View the logs
Under the Prompt File, click ‘Logs’ to view all the generations from this Prompt
Click on a row to see the details of what version of the prompt generated it. From here you can give feedback to that generation, see performance metrics, open up this example in the Editor, or add this log to a dataset.
Next Steps
Well done! You’ve now created your first Prompt. If you look around it might seem a bit empty at the moment.